In this article, I am going to show you how to install Portainer CE on Synology NAS DSM 7 operating system.
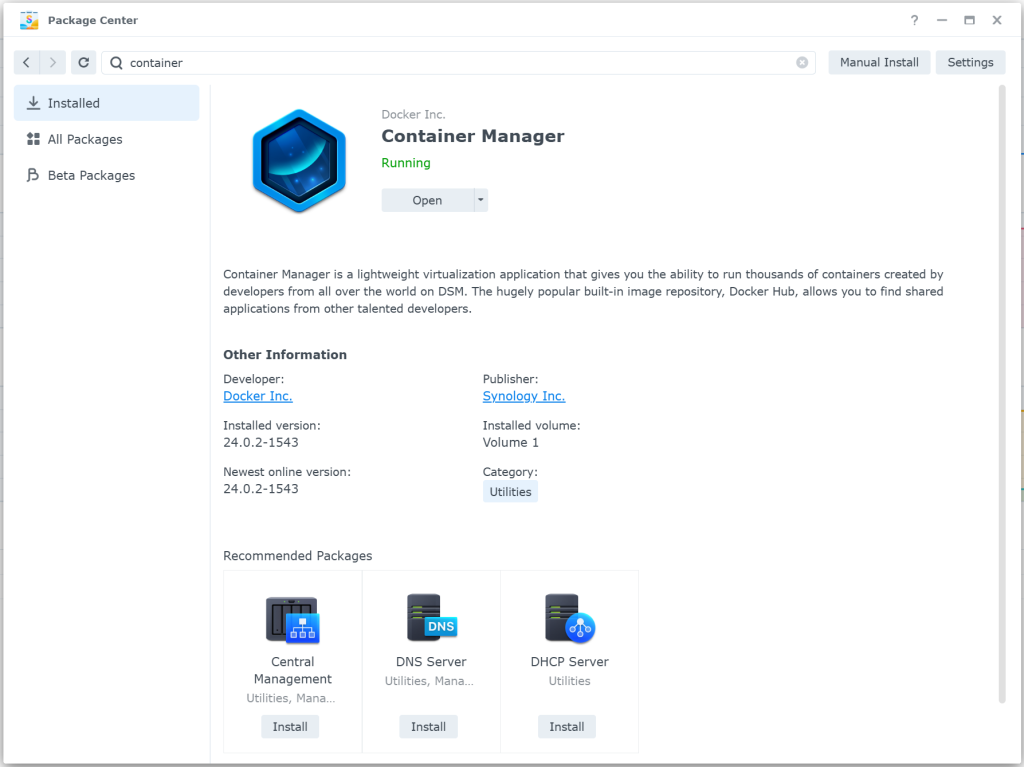
First, install Container Manager from the Synology Package Center app.
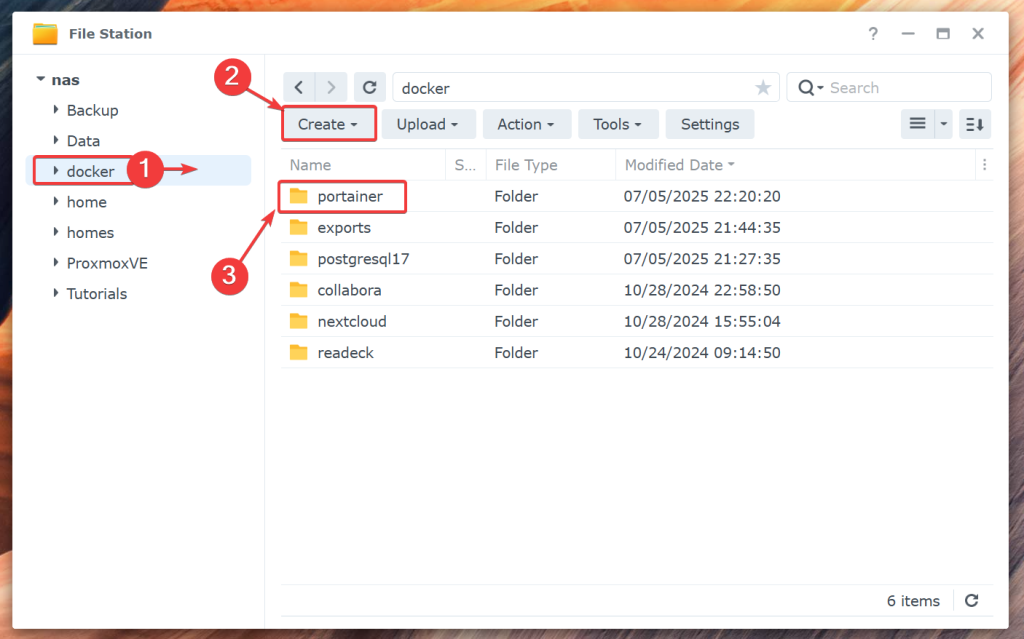
Create a new folder portainer in the docker volume using the File Station app.
Navigate to Control Panel > Task Scheduler and click on Create > Scheduled Task > User-defined script.

A Create task window should be opened. From the General tab, type in install portainer as the Task name[1], select root from the User dropdown menu[2], and uncheck Enabled[3].

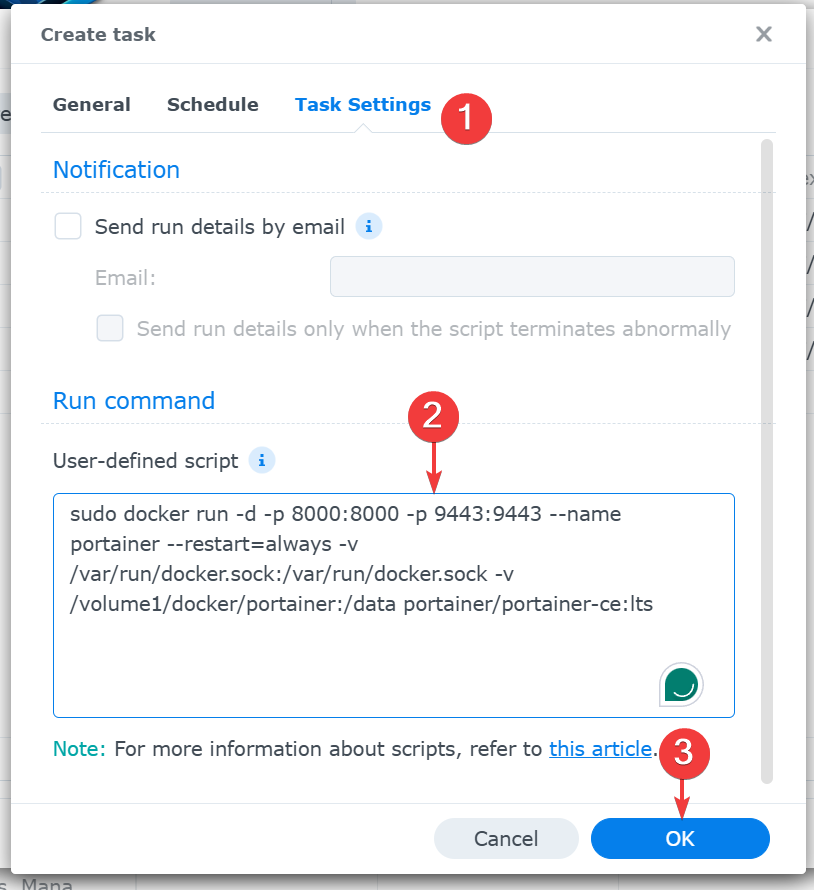
Navigate to the Task Settings tab[1], type in the following command in the User-defined script section[2], and click on OK to save the changes[3].
sudo docker run -d -p 8000:8000 -p 9443:9443 --name portainer --restart=always -v /var/run/docker.sock:/var/run/docker.sock -v /volume1/docker/portainer:/data portainer/portainer-ce:ltsNOTE: In my case, the portainer folder path is /volume1/docker/portainer. You will need to adjust the path as required.
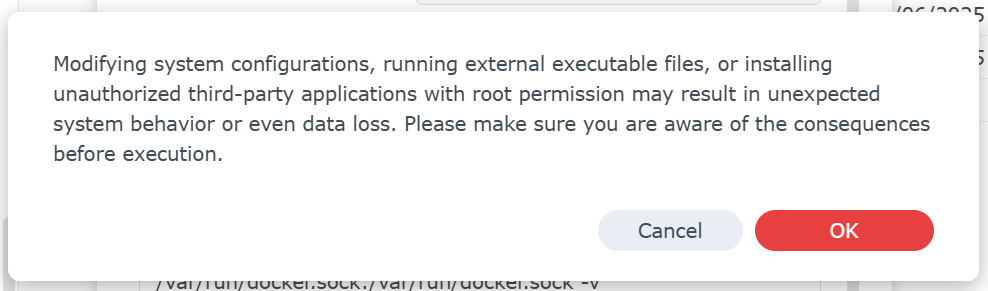
Click on OK.
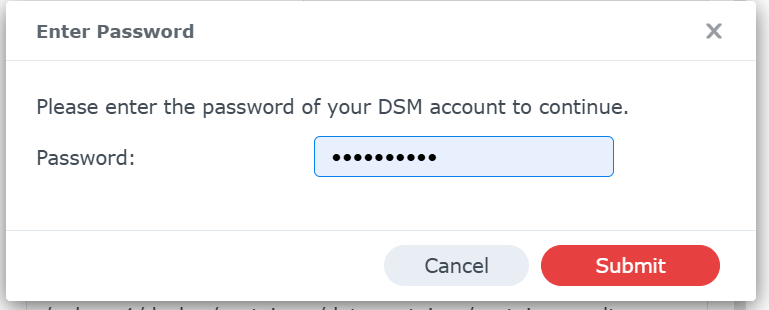
Type in your login password and click on Submit.
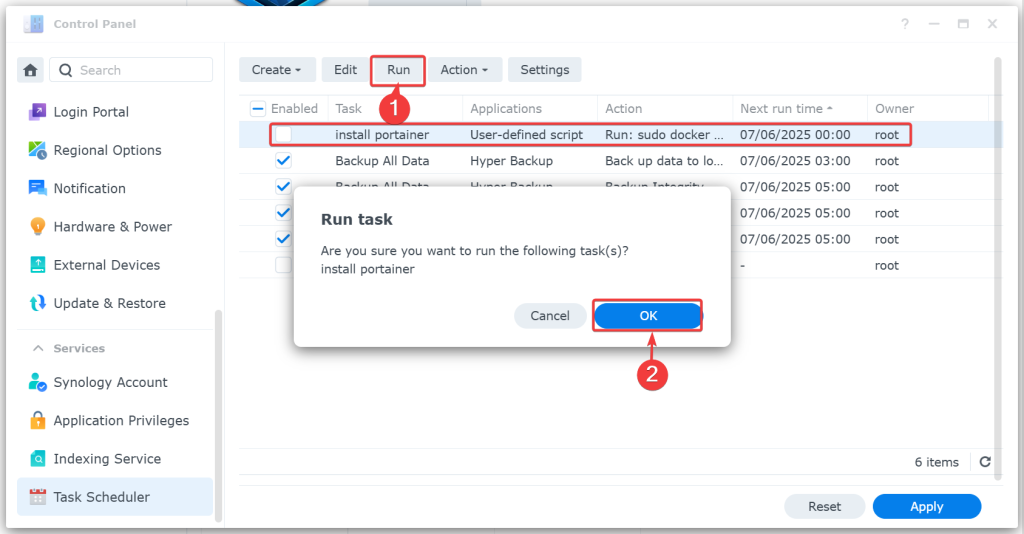
install portainer user defined task should be added. Select it and click on Run[1]. Click on OK to confirm[2]. The user-defined task install portainer should run and install portainer. It will take a while to complete.
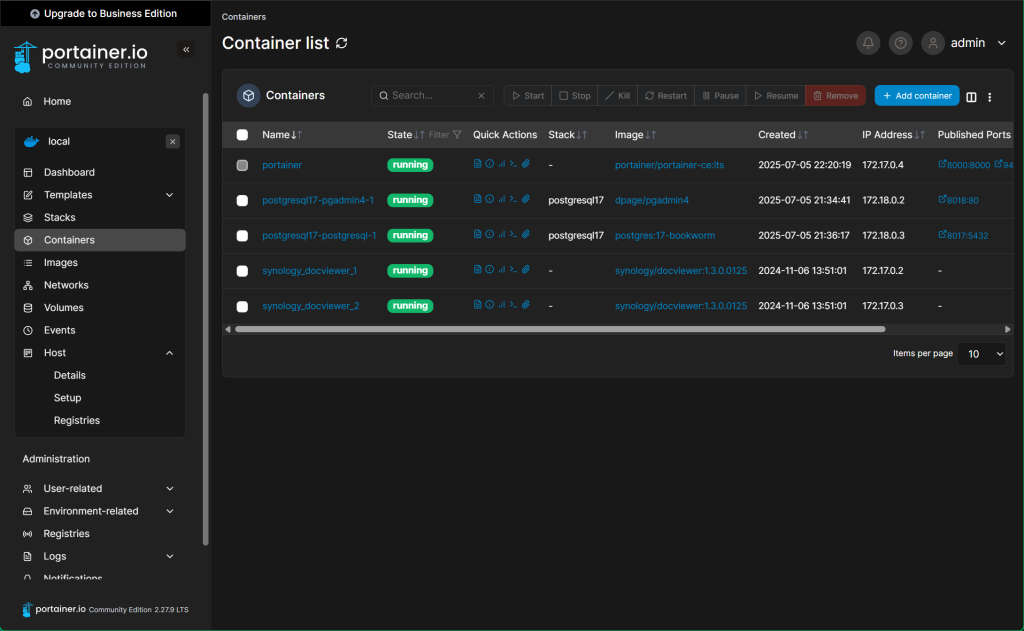
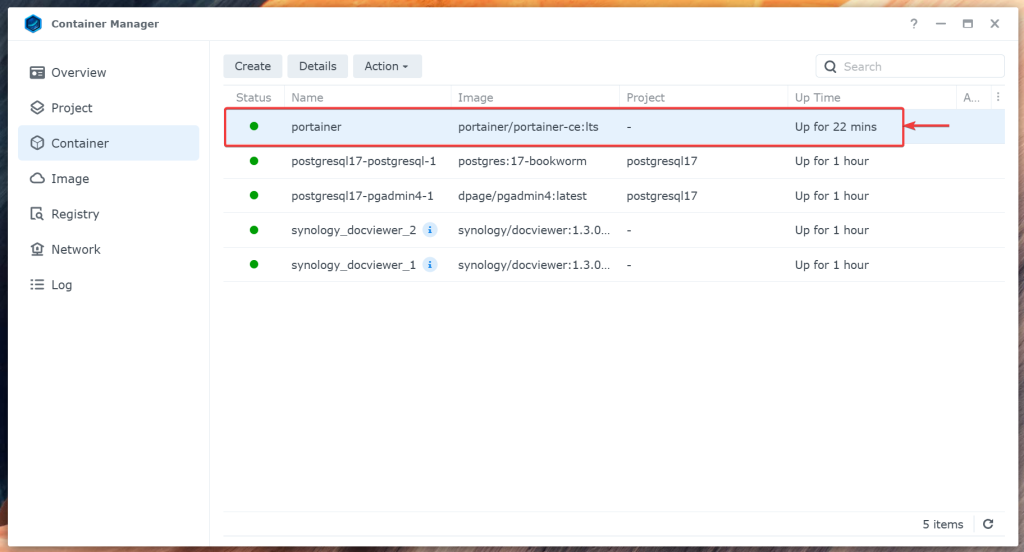
Once Portainer is installed, you should find the portainer container running on the Container Manager app.
You should be able to access Portainer at https://<synology-ip>:9443. The first time you access Portainer, you will be asked to create an admin account and set admin password. Once you do, you should be able to access Portainer and manage containers on your Synology NAS from Portainer.