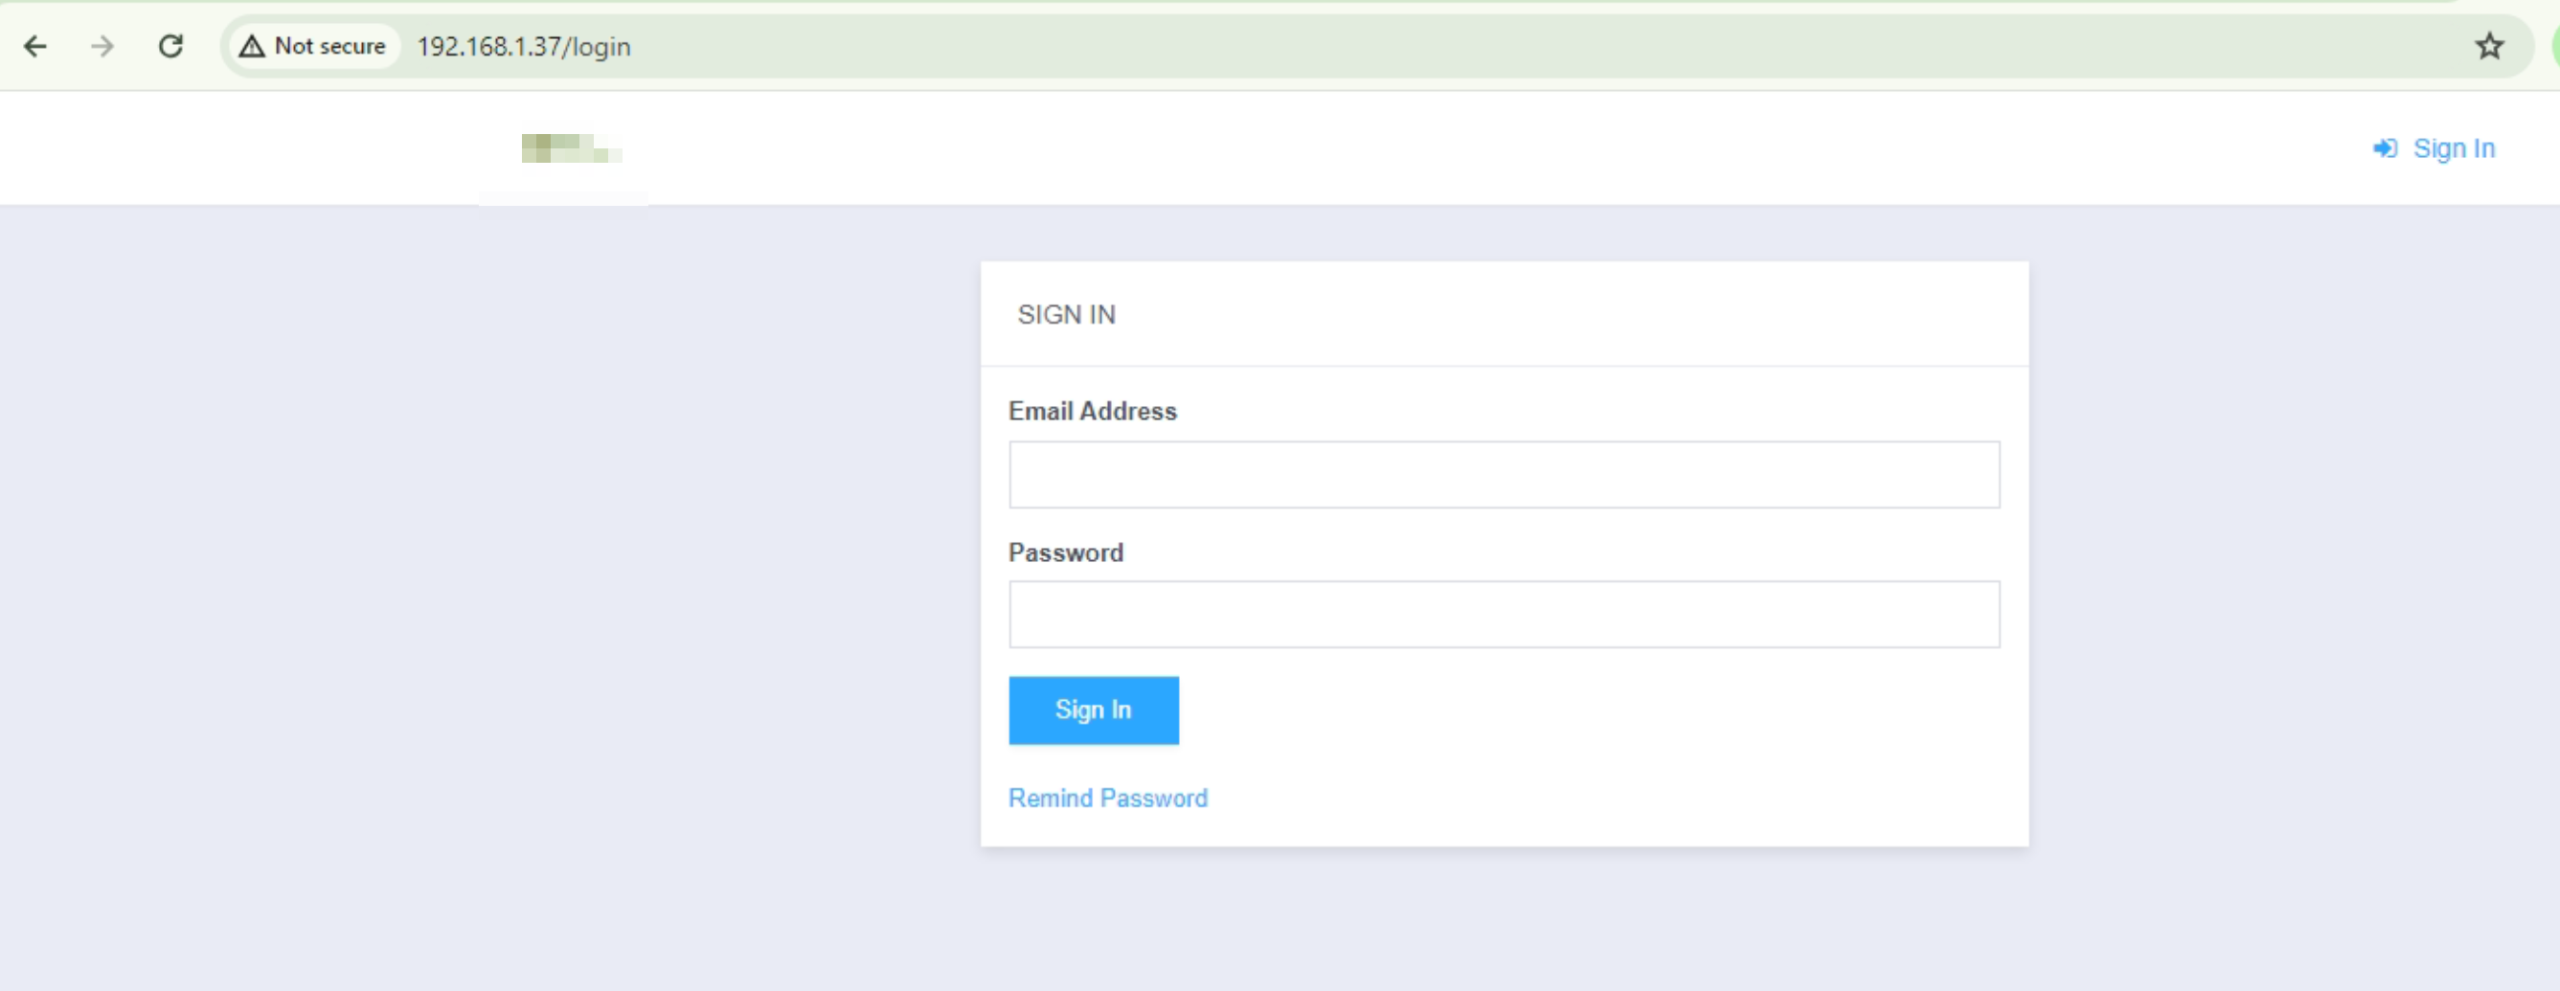
At work I have come accross an issue with EasyDCIM. Before I installed EasyDCIM, an IP address was assigned to the server via DHCP because the IP will change when we will move the server to the datacenter. But when we did the move and a new IP was assigned to the server, EasyDCIM was not accessible from the web browser. When we tried to use the new IP to access it, it always redirected to the old IP address.
I looked on the web for any clues on changing the configured initial IP address of EasyDCIM. but I found nothing. Then, I started looking at the EasyDCIM code files and figured it out. I wrote this article so that you don’t have to waste time searching for the solution like I did.
First, log in to the EasyDCIM server as root user:
$ sudo su - EasyDCIM stores it’s configuration in the MySQL database. To change any configuration options, you need to connect to the MySQL server as root user with the following command:
# mysql -u root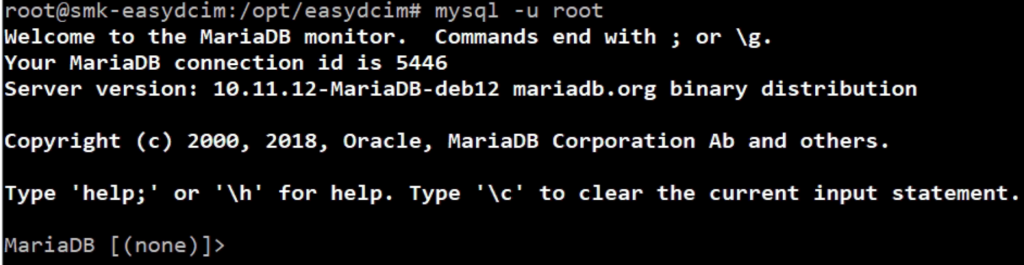
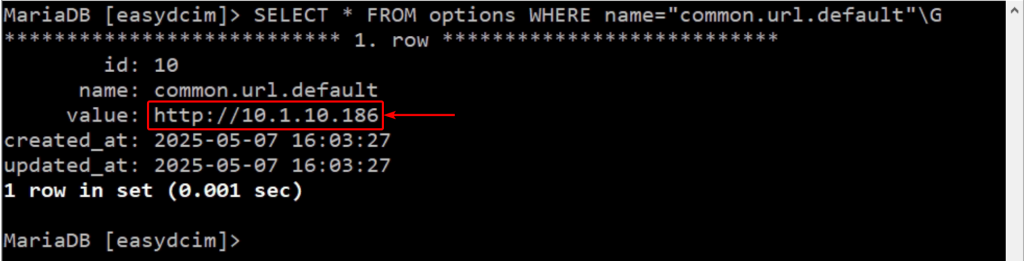
Switch to the easydcim database with the following SQL query:
mysql> use easydcim
To find the current EasyDCIM access URL, run the following SQL query:
mysql> SELECT * FROM options WHERE name="common.url.default"\GAs you can see, the current EasyDCIM access URL is http://10.1.10.186.
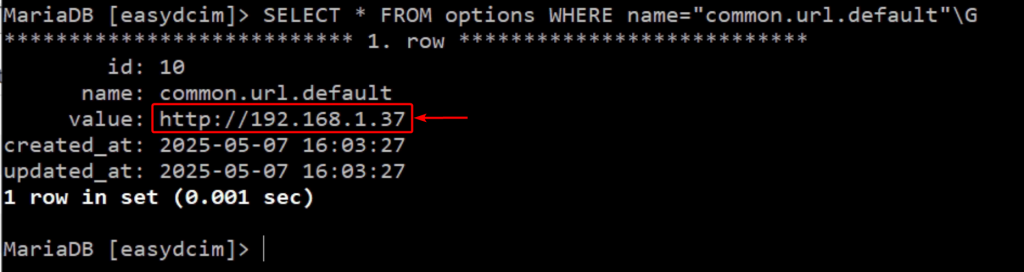
To change the EasyDCIM access URL to http://192.168.1.37 (let’s say) to reflect the new EasyDCIM server IP address, run the following command:
mysql> UPDATE options SET value="http://192.168.1.37" WHERE name="common.url.default";
As you can see, the EasyDCIM access URL is updated with the new IP address.
Now, you should be able to access EasyDCIM using the new EasyDCIM server IP address.
