In this article, I am going to show you how to install the LXQT desktop environment on a Fedora 42 server. I will also show you how to install the TigerVNC server and configure it on the Fedora 42 LXQT desktop environment.
Installing LXQT Desktop Environment on Fedora 42 Server
To install the LXQT desktop environment on Fedora 42 server with the following commands:
sudo dnf install @lxqt-desktopPress y and press <Enter> to continue.
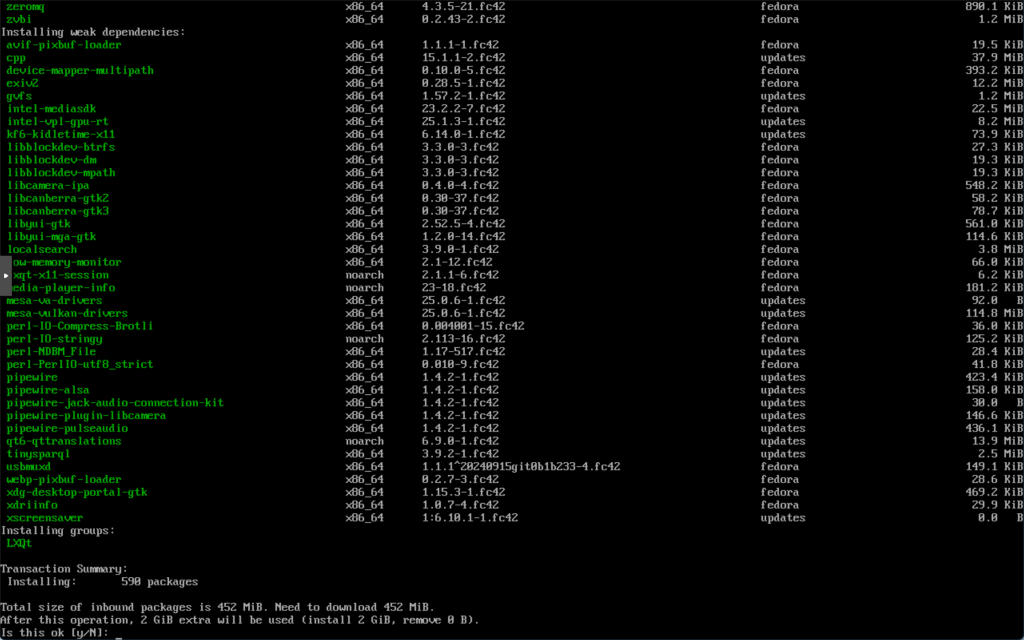
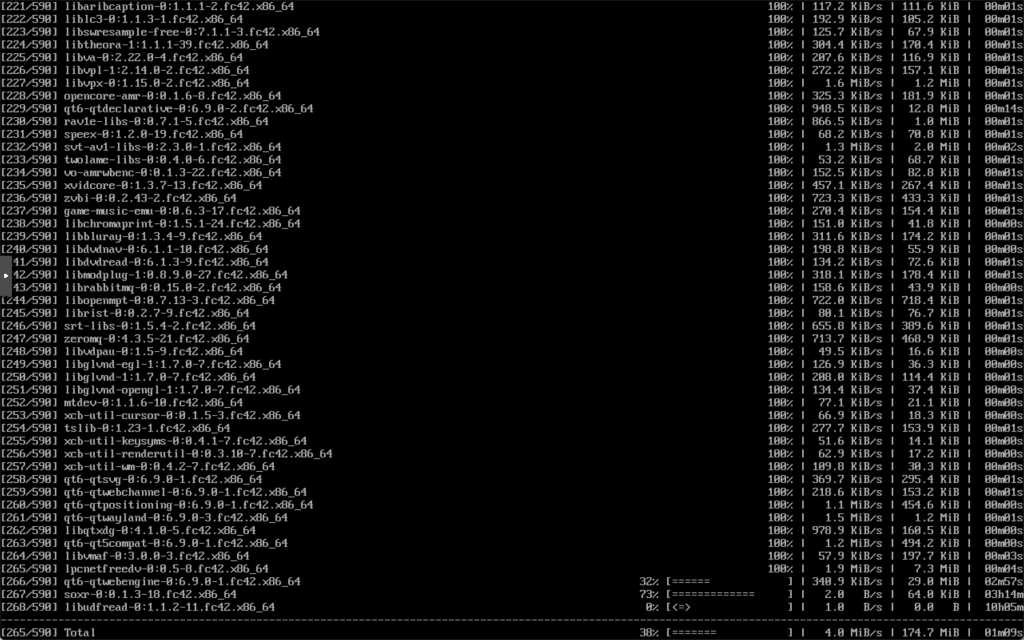
LXQT desktop environment is being installed. It will take a while to complete.
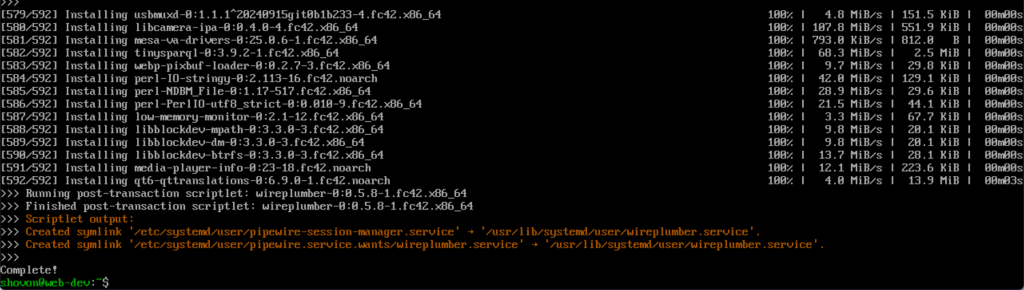
LXQT desktop environment should be installed at this point.
Enabling Multi-User Mode (Optional)
I would recommend enabling the multi-user mode and disable the graphical mode so that VNC runs smoothly without interference.
sudo systemctl set-default multi-user.targetInstalling TigerVNC Server on Fedora 42 Server
To install TigerVNC server, run the following command:
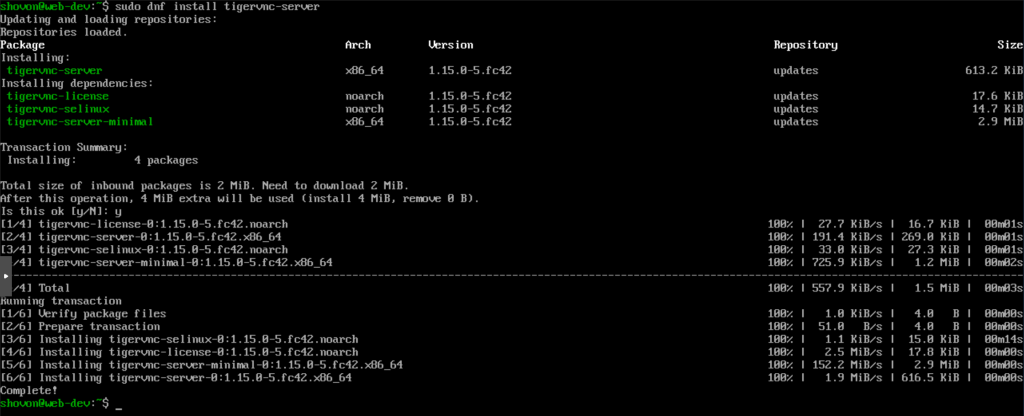
sudo dnf install tigervnc-serverPress y and press <Enter> to continue.
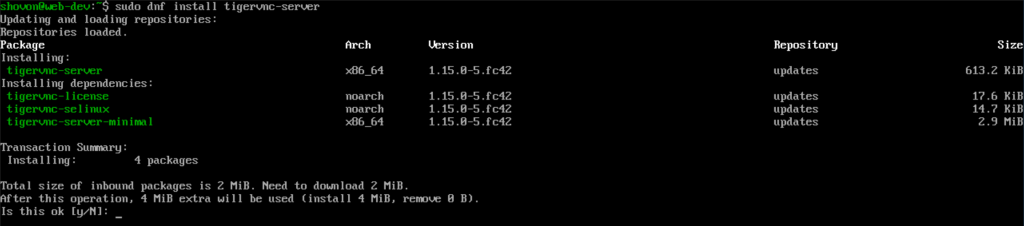
TigerVNC server should be installed.
Configuring TigerVNC Server for LXQT Desktop Environment on Fedora 42 Server
Open the /etc/tigervnc/vncserver-config-defaults file with a text editor:
sudo nano /etc/tigervnc/vncserver-config-defaults
Type in the following lines at the end of the /etc/tigervnc/vncserver-config-defaults file and save the file.
localhost=no
geometry=1920x1080
session=lxqt
alwaysshared
NOTE: session should be one of the filename (without extension) in the /usr/share/xsessions/ directory.
ls /usr/share/xsessions/
Open the /etc/tigervnc/vncserver.users file with a text editor and type in the following lines (one for each user)
sudo nano /etc/tigervnc/vncserver.users

# contents
:1=shovon
:2=alex
Here, :1 will be port 5901, :2 will be 5902. So, user shovon‘s VNC session will run on port 5901, and user alex‘s VNC session will run on port 5902, and so on.
Setting a VNC Password for the VNC User
To set a VNC password for the VNC user, log in as the user and run the following command:
vncpasswd
Automatically Starting TigerVNC Server for Users
To start the TigerVNC server for the user shovon on port :1 or 5901 automatically at boot time, run the following command:
sudo systemctl enable vncserver@:1
For the changes to take effect, reboot the server.
sudo rebootOnce the server boots, the vncserver@:1 service should be running on port 5901.
sudo systemctl status vncserver@:1
sudo ss -ltpn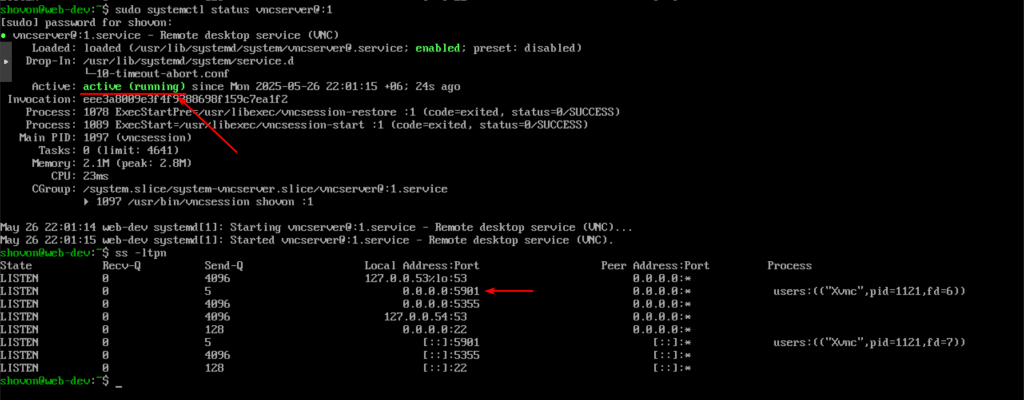
To access the VNC server, you have to open the required ports (i.e. 5901) in the your firewall using the following command:
sudo firewall-cmd --add-service=vnc-server --permanent
sudo firewall-cmd --reload

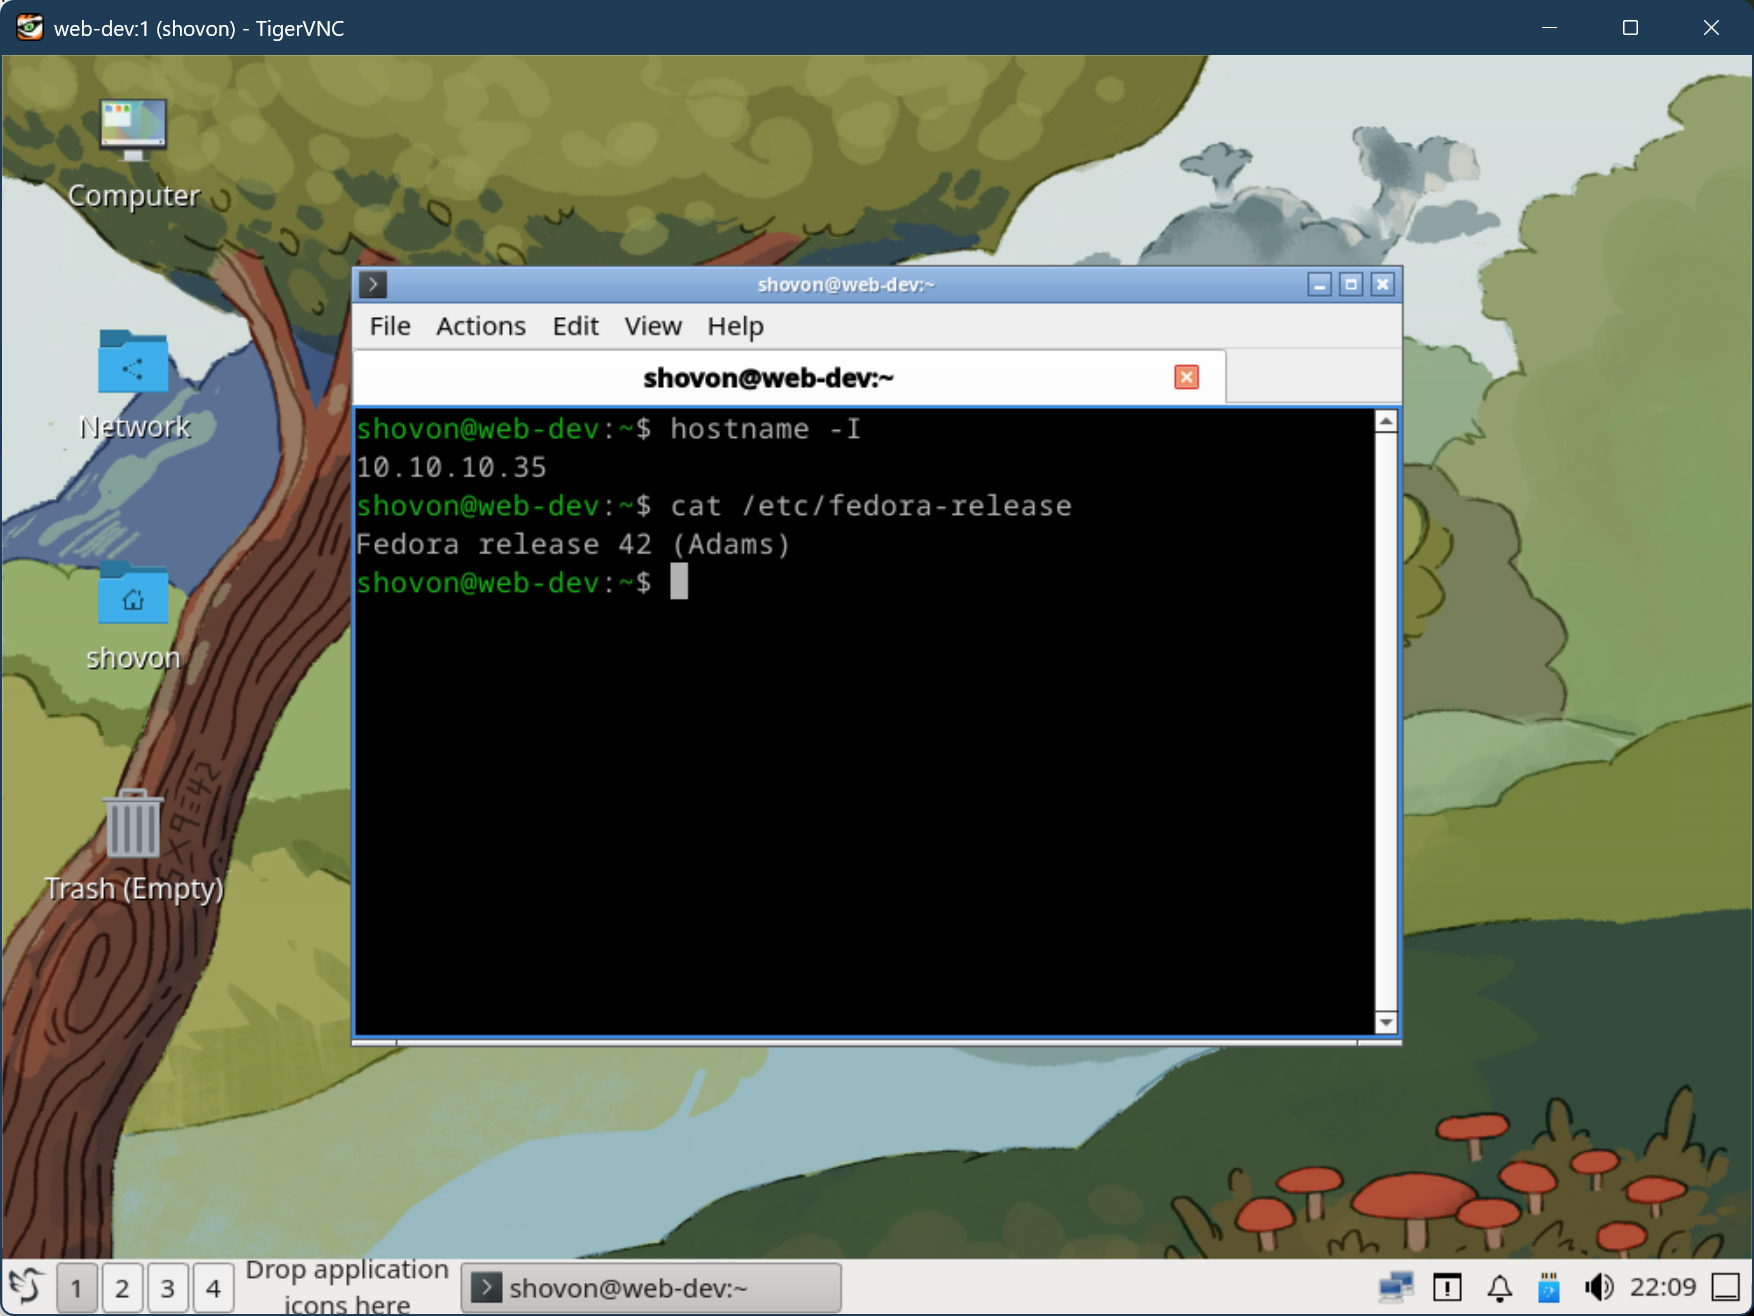
LXQT desktop environment after connecting to the server from a VNC client.
